If you’re looking to customize the appearance of your Obsidian workspace, adding CSS snippets is a great way to achieve a personalized look. In this step-by-step guide, we’ll walk you through the process of adding CSS snippets to Obsidian, allowing you to create a custom CSS style that suits your preferences.
To get started, make sure you have enabled custom CSS in the settings of your Obsidian. Simply check the “Apply CSS snippet” option to activate this feature. Once enabled, you can proceed with the following steps:
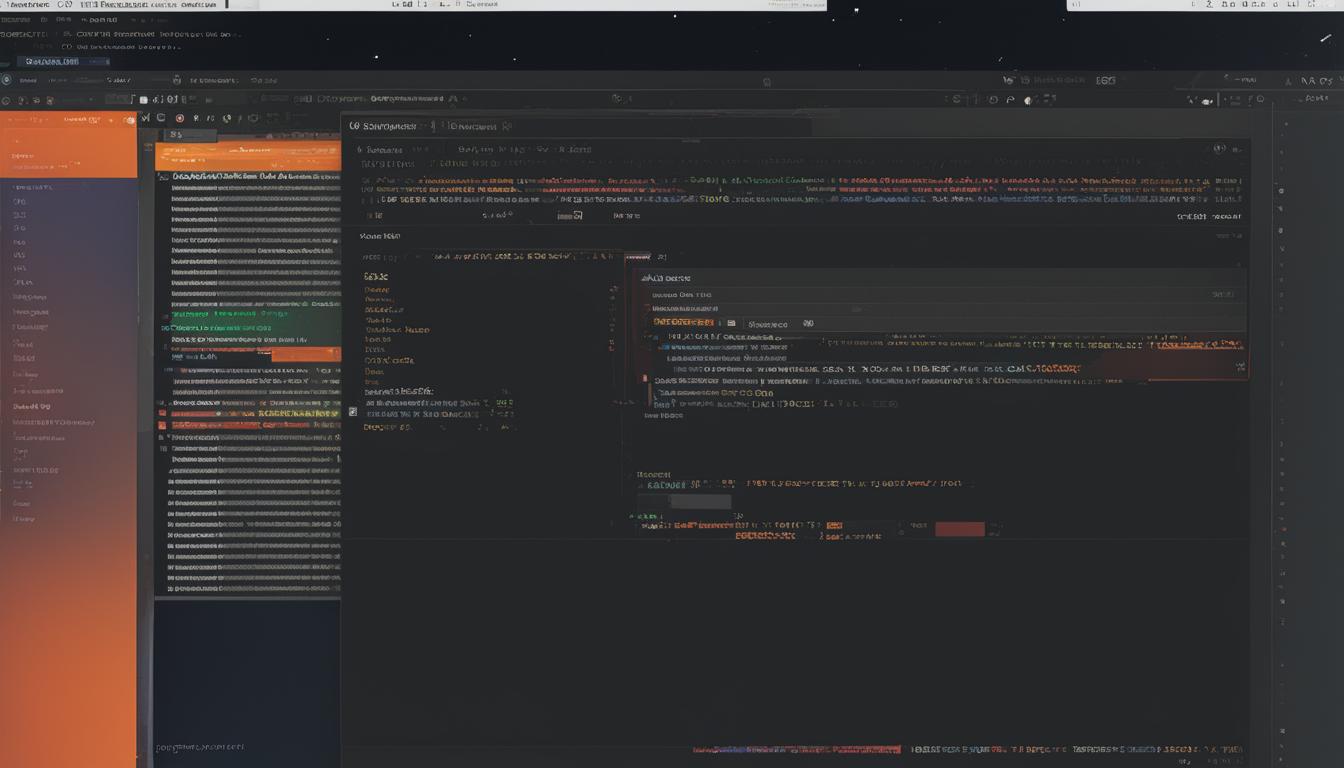
1. Create a new “obsidian.css” file: Access the snippets folder of your vault through the Settings page. Within this folder, create a new file named “obsidian.css”.
2. Customize the CSS code: Open the newly created “obsidian.css” file and edit the CSS code to your liking. Obsidian provides a built-in DevTool that allows you to modify the code conveniently. Adjust the colors, positions, and sizes of various elements to match your preferred style.
3. Save the file: Once you’re satisfied with the changes, save the “obsidian.css” file. Whenever you launch Obsidian, it will automatically apply your custom CSS code, giving your workspace a personalized touch.
By following these simple steps, you can easily add CSS snippets to Obsidian and create a unique visual experience that reflects your individuality. Let’s dive into the world of custom CSS and elevate your Obsidian note-taking journey!
Key Takeaways:
- Adding CSS snippets to Obsidian allows for a customized appearance.
- Enabling custom CSS in the settings is the first step.
- Create a new “obsidian.css” file in the snippets folder.
- Use Obsidian’s DevTool to customize the CSS code to your liking.
- Save the “obsidian.css” file and enjoy your personalized Obsidian workspace.
Snippets for Customizing Obsidian Themes
CSS snippets provide users with the ability to customize and personalize their Obsidian themes to suit their preferences. By adding CSS files to the .obsidian/snippets folder in your vault and activating them in the Obsidian settings, you can easily enhance your note-taking experience. While snippets offer a high level of customization, it is important to note that they are recommended for advanced users who are familiar with CSS.
With CSS snippets, you have the freedom to customize various aspects of your Obsidian interface, including colors, positions, and sizes of elements. Whether you prefer a minimalistic layout or a vibrant and colorful theme, snippets allow you to create your own unique style.
While snippets offer extensive customization options, it’s worth mentioning that common theme features can often be easily customized using theme-setting plugins or the Style Settings plugin. These plugins provide a user-friendly interface that simplifies the customization process for users who may not be familiar with CSS.
Benefits of Using CSS Snippets
There are several benefits to using CSS snippets in Obsidian:
- Flexibility: CSS snippets allow for granular customization, giving you the flexibility to modify specific elements of your Obsidian theme.
- Personalization: By adding your own snippets, you can create a personalized look and feel for your workspace, making it uniquely yours.
- Enhanced Productivity: Customizing Obsidian’s interface to match your preferences can improve your workflow and productivity, as it creates a workspace that is visually appealing and conducive to your needs.
“CSS snippets offer a powerful way to customize and personalize your Obsidian themes, allowing you to create a workspace that reflects your style and enhances your note-taking experience.”
| Snippet Name | Description |
|---|---|
| Dark Mode | Applies a dark color scheme to the Obsidian interface for a sleek and modern look. |
| Custom Font | Allows you to change the default font in Obsidian to a font of your choice, giving your workspace a unique typographic style. |
| Compact Layout | Creates a more compact layout, optimizing screen space and allowing you to view more content at once. |
By utilizing CSS snippets, you can unlock a world of possibilities to customize and personalize your Obsidian themes. Whether you’re an advanced user looking to fine-tune every aspect of your workspace or a beginner seeking a few simple customizations, CSS snippets provide the tools you need to create your ideal note-taking environment.
Using CSS Snippets to Customize Obsidian
CSS snippets in Obsidian provide an effective way to customize and personalize your workspace. By adding custom styles through snippets, you can transform various aspects of Obsidian’s interface, including colors, positions, and sizes of elements. This allows you to create a personalized look that reflects your unique style and preferences.
To use CSS snippets, start by navigating to the Settings page in Obsidian. From there, select Appearance, and choose CSS snippets. This will open up the CSS snippets editor, where you can either create your own snippets or download pre-made ones from the Obsidian community.
Once you have your desired CSS snippets, save them in the designated snippets folder located in your vault. Refresh Obsidian, and you will be able to see your snippets listed in the Appearance menu. Toggle them on or off based on your preference to instantly apply the custom styles to your workspace.
With CSS snippets, the possibilities for customization are endless. Whether you want to change the font, adjust the sidebar layout, or create a dark mode theme, CSS snippets empower you to craft an Obsidian experience that truly reflects your style and enhances your productivity.
Examples of CSS Snippets
| Snippet | Description |
|---|---|
| Custom Font | Change the default font used in Obsidian to match your preference and improve readability. |
| Custom Sidebar Icons | Replace the default sidebar icons with your own custom icons to personalize the navigation experience. |
| Compact Layout | Create a more compact layout to maximize screen space and reduce clutter. |
| Highlight Current Line | Add a visual indicator to easily identify the current line you are working on. |
These are just a few examples of the endless possibilities with CSS snippets. Feel free to explore the Obsidian community and discover more snippets that suit your needs. Remember, CSS snippets provide a powerful tool for customizing Obsidian and making it truly your own.
By using CSS snippets to customize Obsidian, you can create a personalized workspace that enhances your note-taking experience. Whether you prefer a minimalist design or a vibrant and colorful interface, CSS snippets give you the freedom to tailor Obsidian to your exact specifications. Embrace the power of CSS snippets and unlock a world of customization possibilities in Obsidian.
Conclusion
In conclusion, CSS snippets provide a powerful and flexible tool for customizing your Obsidian workspace. By following the step-by-step guide outlined in this article, you can easily add, modify, and apply CSS snippets to personalize the look and feel of your note-taking experience.
With CSS snippets, you have the ability to create your own unique themes, styles, and layouts. Whether you’re an advanced user or just starting out, these snippets allow you to customize various aspects of Obsidian, including colors, positions, and sizes of elements, giving you full control over the visual appearance of your workspace.
By experimenting with different CSS snippets, you can find the perfect combination of styles and designs that suit your preferences and enhance your productivity. Whether you prefer a minimalistic approach or a more vibrant and colorful aesthetic, CSS snippets enable you to transform Obsidian into a truly personalized note-taking tool.
So, take advantage of CSS snippets and unleash your creativity to design a workspace that reflects your individuality. With a wide range of customization options available, you can create a truly unique and personalized Obsidian experience that helps you stay organized and focused on your note-taking tasks.
FAQ
How do I add a CSS snippet to Obsidian?
To add a CSS snippet to Obsidian, you need to enable custom CSS in the settings by checking the “Apply CSS snippet” option. Then, create a new “obsidian.css” file in the snippets folder of your vault, accessible through the Settings page. Customize the CSS code using Obsidian’s DevTool, modify the code in the CSS panel, and copy-paste the edited CSS code into your “obsidian.css” file. Save the file and whenever you relaunch Obsidian, it will apply your custom CSS code.
What are CSS snippets and how do I install them in Obsidian?
CSS snippets are CSS files that allow you to create customizations on top of any Obsidian theme. To install snippets, add CSS files to the “.obsidian/snippets” folder in your vault and activate them in the Obsidian settings. It’s important to note that snippets are recommended for advanced users comfortable with CSS. Common theme features can often be customized using theme-setting plugins or the Style Settings plugin.
How can CSS snippets be used to customize Obsidian?
CSS snippets in Obsidian allow you to add custom styles and create a personalized look for your workspace. By adding snippets to your vault, you can customize various aspects of Obsidian’s interface such as colors, positions, and sizes of elements. To add snippets, go to the Settings page, select Appearance, and choose CSS snippets. Create or download CSS snippets and save them in the designated snippets folder. Once added, refresh Obsidian and toggle the snippets on in the Appearance menu to apply the customized styles.
Can CSS snippets enhance my note-taking experience in Obsidian?
Yes, CSS snippets provide a flexible and customizable way to enhance your note-taking experience in Obsidian. By adding and customizing CSS snippets, you can create unique themes and styles. Whether you’re a power user or just want to customize a few elements, CSS snippets offer a powerful tool for personalization. Experiment with different styles, colors, and layouts to find the perfect look for your Obsidian workspace and enjoy a truly personalized note-taking experience.
Leave a Reply